Resolving Flash Eyes Issues on iPhone: A Complete Guide
Intro
Flash eyes, or the red-eye effect, is a common issue that many iPhone users face while capturing photographs in low-light settings. This phenomenon occurs when a camera's flash reflects off the retina, resulting in a distracting red glare in the subjects' eyes. Understanding the root causes and possible solutions is crucial for anyone who wishes to enhance their photo-taking skills, especially in dim environments.
This guide delves into the intricacies of flash eyes, providing not only an explanation of its origins but also practical tips to mitigate its effects. Emerging from the blend of technology and desire for quality images, resolving flash eyes can elevate the earlier unmanageable photography experiences. The following sections will explore various aspects of this issue, including how to prevent flash eyes, effective remedies, and best practices to ensure that every shot captures the essence of the moment without visual distractions.
Understanding Flash Eyes Phenomenon
Understanding the flash eyes phenomenon is crucial for anyone who frequently uses their iPhone camera, especially when taking pictures in low-light environments. The occurrence of flash eyes can detract from the overall quality of photographs and create an untidy appearance in images. This makes it an important topic to cover, as it directly influences how well one can capture moments without the distraction of unnatural red-eye effects.
Definition of Flash Eyes
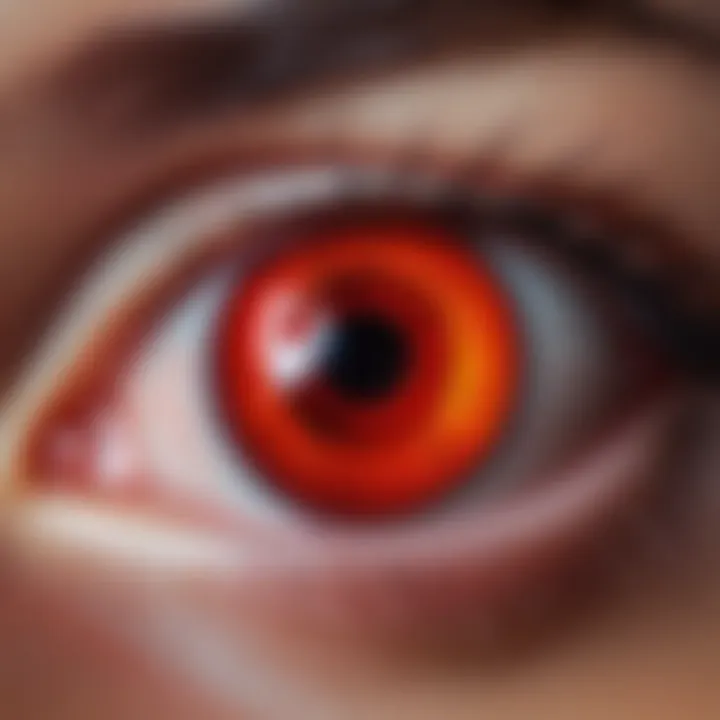
Flash eyes, commonly referred to as red-eye, occurs when a camera's flash reflects off a subject's retinas, causing the pupils to appear bright red. This effect is particularly noticeable in dimly lit settings when the subject's pupils are dilated to allow more light in. The closer the flash is to the camera lens, the more pronounced the flash eyes phenomenon becomes. This issue typically arises in portraits, family gatherings, or any setting where the ambient light is insufficient.
How Flash Eyes Occur
The underlying mechanics of flash eyes involve the alignment of light and the delicate structures of the eye. When the camera's flash fires, it produces a short burst of light. In a dark setting, this intense light hits the expanded light-sensitive area behind the pupil, known as the retina. The red hue results from the reflection of light off the blood vessels located in the choroid layer of the eye. This complex interaction between light and eye physiology results in the unwanted red-eye effect that can mar even the best photographs.
To minimize this effect, photographers should consider several factors. First, extending the distance from the subject can help diminish the chance of capturing flash eyes. Second, altering the position of the flash, if possible, can redirect the light away from the direct line of sight to the camera lens. Lastly, being aware of the camera settings that may amplify this issue can aid in preventing flash eyes from occurring in the first place.
The Science Behind Red-Eye
Understanding the science behind red-eye is crucial for effective photography using your iPhone. Recognizing how the camera flash interacts with the subject's eyes can lead to better image outcomes. Red-eye occurs when light from the flash reflects off the retina, creating that characteristic red appearance. This effect can be more pronounced in low-light situations when the pupils are dilated, making it a common issue. By exploring the mechanics behind this phenomenon, you gain valuable insights into how to prevent or correct it, ensuring higher quality photographs.
Role of the Camera Flash
The camera flash plays a significant role in the formation of red-eye. When you take a picture in a dimly lit environment, the flash fires momentarily to illuminate the subject. At this instance, the sudden burst of light travels into the subject's eyes. If the pupils are wide open, which is often the case in low-light conditions, the light reflects off the blood vessels in the retina, causing the red-eye effect.
To mitigate this issue, users need to understand how to manipulate camera settings effectively. Adjusting the flash intensity and optimizing shots can help minimize red-eye occurrence. Additionally, employing techniques such as pre-flash or reducing the distance to the subject can also aid in reducing the risk.
Common Triggers for Flash Eyes
Understanding the common triggers for flash eyes is essential to combatting this persistent issue when taking photos with an iPhone. By identifying these triggers, individuals can make informed decisions on how to adjust their photo-taking practices. This knowledge not only helps to minimize the occurrence of red-eye effects but also enhances overall photography skills.
Low-Light Environments
Low-light environments are arguably one of the most significant contributors to the flash eyes phenomenon. When there is insufficient ambient light, the camera’s flash becomes a vital source of illumination. However, this can lead to unwanted reflections in the eyes of the subjects. The human eye consists of a dark structure called the pupil that dilates in low-light conditions, allowing more light to enter.
When the flash fires in such conditions, it leads to a temporary reflection of the light from the retina back into the camera lens, hence creating the red-eye effect. To mitigate this, consider enhancing the surrounding light before capturing images. Using soft lighting products, such as diffusers, or even turning on nearby lamps can help reduce the reliance on the camera flash.
Close Proximity to Subjects
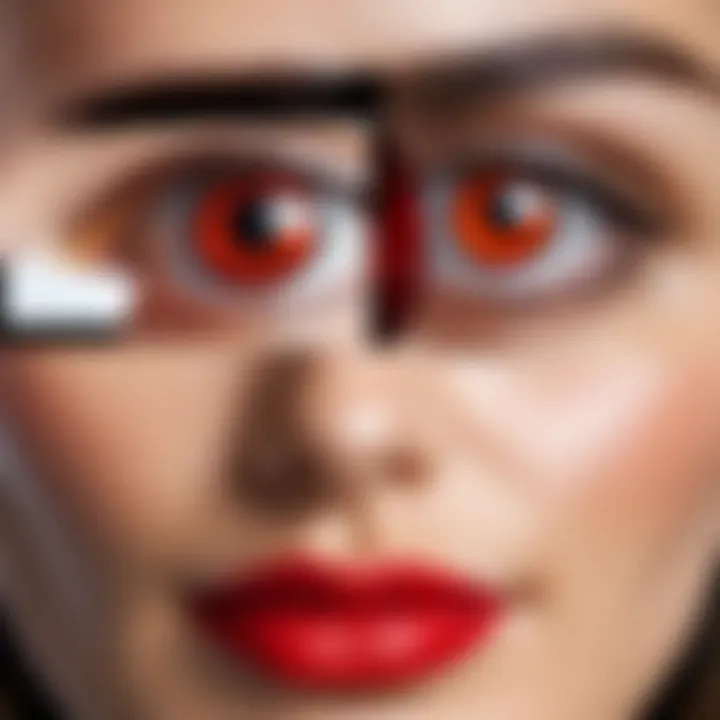
Another significant trigger for flash eyes is the close proximity to subjects during photography. When a person stands too close to the camera, the angle of the flash relative to the eyes becomes more pronounced. The closer a subject is, the greater the risk of an intense flash reflecting off their retinas. This phenomenon is particularly troublesome in group photos or portrait-style shots.
To avoid this issue, it is advisable to increase the distance between the camera and the subjects. By taking a few steps back, the flash effect becomes less concentrated, and the chances of capturing flash eyes significantly decrease. Additionally, experimenting with different framing techniques can also help in ensuring better outcomes without the red-eye distraction.
Camera Settings Impact
Adjusting camera settings can have a substantial impact on the occurrence of flash eyes. Many iPhones come equipped with various settings that allow users to control the flash intensity and overall camera performance. The automatic flash can sometimes be too strong, particularly in dark settings.
Using manual settings can provide better control over the photo output. For instance, lowering the flash intensity or switching to a different flash mode can alter how the light interacts with the subjects' eyes. Moreover, reviewing and adjusting the exposure settings can aid in capturing photos that require less reliance on flash, thus minimizing the chance of unflattering red-eye reflections.
In summary, awareness of common triggers, such as low-light conditions, proximity to subjects, and camera settings, can significantly assist in avoiding flash eyes in photos. Understanding these elements can empower users to take more deliberate actions leading to improved photography. Note that proper planning and technique can ultimately deliver more desirable results.
Checking Your iPhone Settings
Examining your iPhone's settings is a critical step in addressing the flash eyes effect. Having the right configurations can minimize the occurrence of this issue significantly. Through specific adjustments, photographers can enhance their image quality and overall experience. Adjusting settings is not only about convenience; it impacts the effectiveness and clarity of your photographs.
Camera Settings Overview
Your iPhone comes equipped with advanced camera settings that allow for varied photography styles. Understanding these settings is essential for achieving the best results with flash photography. Here is a summary of key camera settings:
- Resolution: The iPhone camera allows you to adjust resolution settings. While higher resolutions provide better detail, you may want to balance this with storage limitations.
- Exposure Control: This feature enables you to manually set the amount of light that hits the sensor. It is particularly useful in low-light conditions.
- Auto-focus: Ensure that the camera's auto-focus feature is functioning correctly, as this directly influences the sharpness of images.
- Grid Lines: Activate grid lines to assist in composing the shot. This can help center your subjects more effectively.
Being familiar with these options equips you to make informed choices while capturing photos. Proper use of these settings can help prevent flash eyes by allowing for optimal lighting conditions.
Flash Settings Adjustments
The flash settings on your iPhone play a significant role in managing the flash eyes issue. Adjusting these settings can create a noticeable difference in your photography outcomes. Here are some specific adjustments to consider:
- Flash Mode: Choose between different flash modes such as Auto, On, and Off. Knowing when to turn off the flash can reduce the chance of red-eye results.
- Flash Intensity: Some applications provide options to adjust the intensity of the flash. Softer lighting can mitigate the effects of flash eyes.
- Night Mode: Utilizing the iPhone's night mode can improve low-light photography by capturing more light without directly using a flash. This reduces the chance of flash eyes greatly.
These adjustments not only enhance your photography skills but also contribute to a more enjoyable shooting experience. A strategic approach to flash settings can transform your photos from average to exceptional.
Preventative Measures to Avoid Flash Eyes
Addressing flash eyes effectively begins with preemptive strategies. Understanding and implementing preventative measures can significantly reduce the chances of encountering this common issue when using your iPhone's camera. Each step in this process holds importance not only in terms of aesthetic appeal but also influences the overall quality of your images. Here, we delve into specific elements that can make a difference, highlight the benefits of these strategies, and clarify considerations that should be kept in mind.
Distance from Subject
Maintaining an appropriate distance from your subject is crucial. When taking photographs, being too close can enhance the likelihood of flash eyes occurring. The closer you are to the subject, the more intense the flash will reflect off their retinas, resulting in the unwanted red-eye effect. Aim for a distance that allows for proper framing without compromising the image quality. A distance range of three to six feet often works well for portraits. This also lets you capture more of the surrounding context in shots, creating a more appealing composition.
Utilizing Natural Light
Another effective approach is to maximize the use of natural light. When conditions permit, taking photos outdoors or near large windows can reduce the reliance on flash. Natural light provides a softer illumination that diminishes the chances of both glare and red-eye. If you must shoot indoors, consider enhancing ambient light with additional lamps or turn off the flash altogether. This not only preserves your subject's natural appearance but also creates a more flattering and inviting atmosphere for the photograph.
Adjusting Flash Intensity
Adjusting the intensity of the flash is equally important. iPhones allow users to modify the flash settings in various ways. Reducing flash brightness can prevent the harsh reflections that cause flash eyes. Explore settings such as a lower flash mode or using a softer flash accessory. Additionally, you might want to experiment with different flash modes available on your iPhone, such as slow sync flash, which can create balanced images while minimizing red-eye effects.
To sum up, preemptive measures are integral in mitigating flash eyes on your iPhone photos. Monitoring distance, leveraging natural light, and adjusting flash intensity can lead to better photography outcomes.
By incorporating these techniques, you are more likely to achieve better results, making your photography experience not only enjoyable but also visually satisfying.
Correcting Flash Eyes Post-Capture
Correcting flash eyes after capturing images is a critical aspect of mobile photography, particularly for those who frequently use their iPhone cameras in varied lighting conditions. The phenomenon of flash eyes occurs when the camera's flash reflects off the retina, leading to a distinct red appearance in the subject's eyes. While preventive measures are essential, knowing how to correct this issue post-capture can greatly enhance the quality of your photographs.
The importance of addressing flash eyes in post-processing cannot be overstated. Once you have taken the photograph, the immediate impact of a red-eye effect can detract significantly from an otherwise excellent image. By resolving this issue effectively, you can improve the overall aesthetic and presentation of your photos. Additionally, applying corrections can help save valuable moments from becoming unusable due to minor imperfections.
Using Built-in Photo Editing Tools
The iPhone offers user-friendly built-in photo editing tools that allow for quick corrections to flash eyes. Accessing these tools is straightforward: open your Photos app, select the image needing adjustment, and tap on the "Edit" option. Once in edit mode, you can utilize the specific red-eye removal feature found within the editing interface. This tool is designed to automatically detect and correct the red-eye effect with just a few taps.
- Select the Image: Navigate to your photo library and choose the image with flash eyes.
- Open Edit Mode: Tap on the "Edit" button located at the top right of the screen.
- Red-Eye Tool: Look for the red-eye tool. Depending on your iOS version, it may be represented as an eye icon.
- Apply Correction: Tap on the red-eye area; the tool will correct the color automatically.
- Save Changes: After corrections, ensure you save your edits.
By utilizing the built-in photo editing features, you can achieve quick fixes without the need for advanced software or extensive time commitment.
Third-Party Editing Applications
For users looking for even more control over their images, third-party editing applications can provide robust tools for correcting flash eyes. These applications often come with advanced functionalities that can expand beyond simple red-eye corrections, enabling comprehensive photo edits. Popular options include Adobe Lightroom, Snapseed, and VSCO.
- Adobe Lightroom: Offers comprehensive editing features, allowing users to not only fix flash eyes but also enhance overall image quality through adjustments in color, exposure, and detail.
- Snapseed: This app features a specific tool to fix red-eye and provides numerous filters for overall photo enhancement. Users can customize their edits extensively.
- VSCO: Known for its user-friendly interface and high-quality presets, VSCO also contains an option for red-eye removal alongside tools for more detailed adjustments.
To correct flash eyes using these applications, download your preferred one and upload the image. Most apps have a straightforward process for red-eye correction—either automatically detecting the issue or allowing manual adjustments. After corrections, you can save and share your refined image easily.
The ability to correct flash eyes post-capture plays a crucial role in mobile photography. Whether using built-in tools or third-party applications, having the means to enhance your images ensures that those captured moments retain their intended emotional impact.
Moment captured in a photo should be memorable, not overshadowed by minor flaws.


By mastering these correction techniques, you will elevate your photography skills and appreciate the art of capturing images with your iPhone even more.
Tips for Better Photography
When capturing images, few elements can make or break a photograph as effectively as good techniques. This section will discuss tips that can enhance your photography skills, specifically addressing the issue of flash eyes while using your iPhone. Mastering these techniques can lead to more visually pleasing images and ensure that every photo you take resonates well with its viewers.
Understanding Lighting Conditions
Light is the most crucial aspect of photography. Poor lighting can lead to the unwanted appearance of flash eyes, disrupting the overall quality of your image. Natural light is typically more forgiving than artificial light. When possible, utilize daylight for your shoots. Early morning or late afternoon light provides a soft, diffused glow that minimizes harsh shadows.
Additionally, be aware of the direction of light. Front lighting can prevent flash eyes but may wash out details. Side lighting can create depth but may require adjustments to prevent red-eye. When shooting indoors, consider opening curtains or using additional light sources. This not only helps in achieving clear visibility but reduces the need for camera flash, thereby minimizing the risk of flash eyes.
Experimenting with Angles
Altering the angle of your shots can significantly reduce instances of flash eyes. When taking photos, try tilting your camera slightly or adjusting your position relative to your subject. A slightly higher or lower angle may change how the flash interacts with the subject's eyes. Shooting at an angle rather than straight on can help in creating more dynamic images and avoiding direct reflection of the flash in the pupil.
Don’t hesitate to venture beyond conventional angles. Lower angles can often produce more dramatic images while correcting flash eyes. This technique also allows for interesting perspectives that can enhance the storytelling element of your photographs.
Practicing with Different Subjects
Diversity in subjects can reveal a lot about how various factors affect photography, including flash eyes. Practicing with a range of subjects, from people to still life, helps in understanding how lighting and distance alter the final image. When photographing people, notice how their eye colors and positions contribute to flash eyes.
Moreover, working with different distances between yourself and the subject will yield various results. Close-ups may amplify the red-eye effect due to the proximity of the flash to any reflective surfaces. Experimenting with distance can help establish the ideal space needed to avoid such issues.
Tip: Each subject and environment will behave differently; the more you practice, the more skills you will develop in avoiding flash eyes.
Resources for Further Learning
Incorporating effective photography techniques involves continuous learning and adaptation. Exploring resources that focus on mobile photography can be highly beneficial for anyone looking to improve their skills. By accessing various forms of educational material, individuals can gain a deeper understanding of the complexities involved in capturing high-quality images. Not only can these resources provide insights on avoiding common issues, such as flash eyes, but they also equip photographers with the tools needed for superior outcomes in diverse lighting conditions.
Online Photography Courses
Online courses offer structured content and expert guidance for photographers at all levels. They range from beginner to advanced topics, covering essential elements of mobile photography, including composition, exposure, and post-processing techniques. Here are some advantages of engaging with online courses:
- Learn from Professionals: Instructors often share their personal experiences and techniques.
- Flexible Learning: Users can progress at their own pace, revisiting complex topics as needed.
- Diverse Topics: Many courses focus not only on technical skills but also on creative aspects.
Popular platforms like Udemy and Coursera host extensive selection of photography courses. Utilizing these courses can help photographers refine their craft and understand better how to capture images without compromising quality due to technical flaws.
Books on Mobile Photography
Books remain a timeless source of knowledge and can complement online courses effectively. They often delve deeper into photographic theory and can provide rich context not always captured in digital formats. Here are some considered benefits of reading:
- In-Depth Knowledge: Books can offer comprehensive coverage of topics, allowing for thorough understanding.
- Portable Learning: They can be read anywhere, making learning accessible anytime.
- Variety of Perspectives: Different authors bring unique insights, enriching the reader’s understanding.
Some recommended titles include “Mobile Photography: A Complete Guide” and “Understanding Light: An Essential Guide for Photographers”. These books help understand the nuances of mobile photography and the various methods to enhance image quality, thus indirectly assisting in minimizing issues like flash eyes.
"Investing time in learning is investing in your future creativity."


